
Manual setup
This page gets TypeType running on your own machine by hand, with Docker Compose. The base setup is three commands. Everything the helper scripts in the repo do is explained here, so you never have to run a script you do not understand.
You do not need to generate any secrets by hand: the stack creates the sensitive keys it needs on first start, automatically.
Recommended: the install script
For most people the Quick start script is the easiest path, it does everything on this page for you, including the object store for downloads. Use this manual guide if you want full control or to understand each step.
Part 1 — Get it running
1. Download the files
The compose file and its companions (nginx.conf, garage.toml, .env.example) live in the TypeType repository. The compose file pulls prebuilt images, so there is nothing to compile.
git clone https://github.com/Priveetee/TypeType.git
cd TypeType
2. Create your configuration
Copy the example file. The defaults already work for a local install.
cp .env.example .envYou can ignore the SET_ME_... secret lines
The two YOUTUBE_* secret placeholders are filled in for you on first start (an init container generates them and the server reads them from a private volume). The placeholder text is detected and ignored, so leaving it as-is is completely fine. The only values worth reviewing now are the ports, in Configuration.
3. Start everything
docker compose up -dCompose downloads the images and starts the stack. Two short init containers (typetype-secrets, postgres-init) run once and exit on their own, that is normal.
Check that the long-running services are up:
docker compose psYou should see typetype, typetype-server, typetype-token, typetype-downloader, postgres, dragonfly, and garage all running.
4. Open it and create the admin account
Visit http://localhost:8082. On a fresh install the app detects that no account exists yet and asks you to create one. The first account becomes the administrator automatically, no extra step.
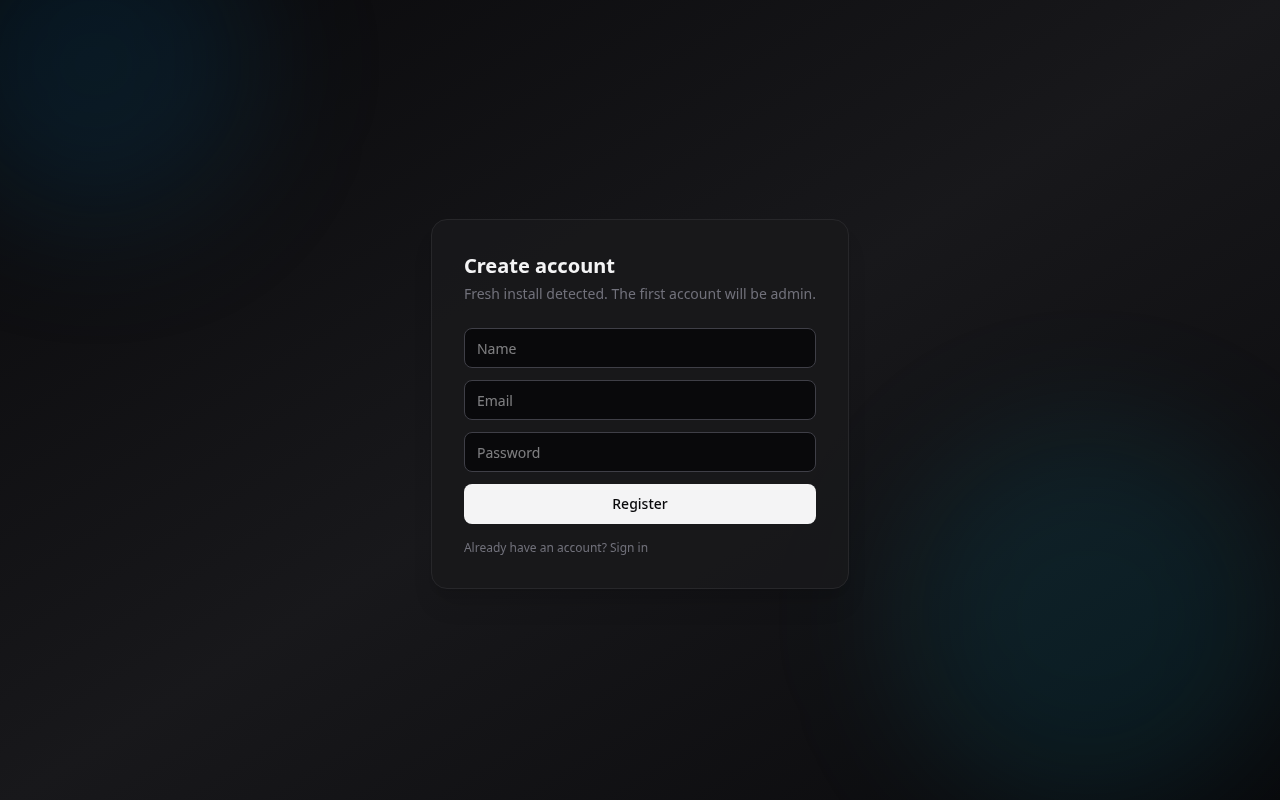
Enter a name, email, and password, then Register. You are immediately signed in as the admin and land on the onboarding screen, where you can import your data.
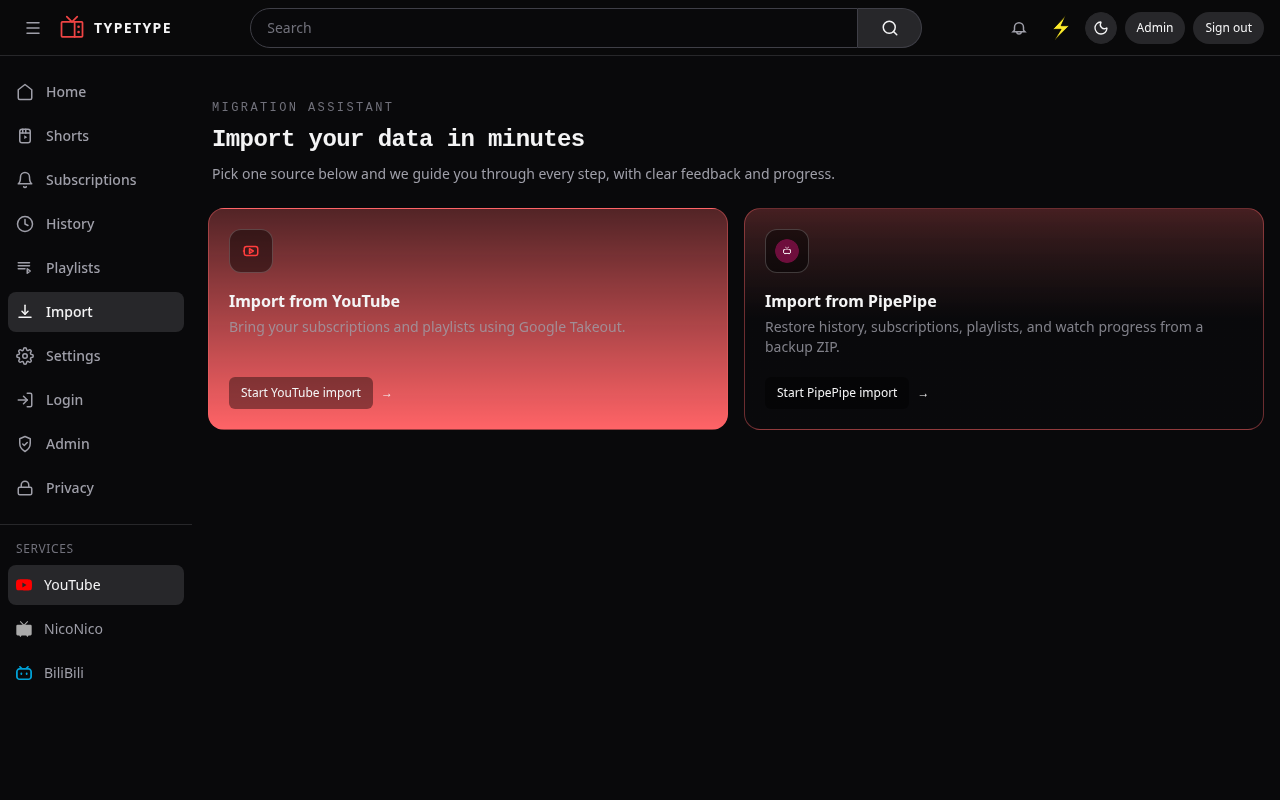
The whole flow from the empty form to the admin home:
That is the entire base install. To put it on a real domain with HTTPS, see Reverse proxy and HTTPS.
Part 2 — Object storage for downloads
The download feature needs an S3-compatible object store, which the stack already includes (Garage). The install script sets this up automatically; the manual steps are below. Browsing and watching already work, so you can do this now or later, but downloads stay disabled until it is done.
1. Generate an access key and secret
The access key must start with GK.
echo "DOWNLOADER_S3_ACCESS_KEY=GK$(openssl rand -hex 12)"
echo "DOWNLOADER_S3_SECRET_KEY=$(openssl rand -hex 32)"
Paste both lines into .env, replacing the SET_ME_ACCESS_KEY and SET_ME_SECRET_KEY placeholders, then recreate the affected services:
docker compose up -d2. Provision Garage
Run these once. They assign storage, create the bucket, register your key, and grant it access. garage.toml is mounted in the container, so the CLI uses it.
# short alias for the Garage CLI inside the container
g() { docker compose exec -T garage /garage -c /etc/garage.toml "$@"; }

# 1. give the node a storage layout
NODE_ID=$(g node id | head -n1 | cut -d@ -f1)
g layout assign -z dc1 -c 20GB "$NODE_ID"
g layout apply --version 1

# 2. create the downloads bucket
g bucket create typetype-downloads

# 3. register the key from step 1 (use YOUR values from .env)
g key import --yes -n typetype-downloader "<DOWNLOADER_S3_ACCESS_KEY>" "<DOWNLOADER_S3_SECRET_KEY>"

# 4. let that key use the bucket
g bucket allow --read --write --owner --key "<DOWNLOADER_S3_ACCESS_KEY>" typetype-downloads
TIP
--version 1 is correct on a fresh install. If you re-run the layout step later, use one more than the version shown by g layout show.
Downloads now work from the interface.
Everyday commands
docker compose pull && docker compose up -d   # update to the latest version
docker compose logs -f typetype-server        # follow the server logs
docker compose down                           # stop (your data is kept)